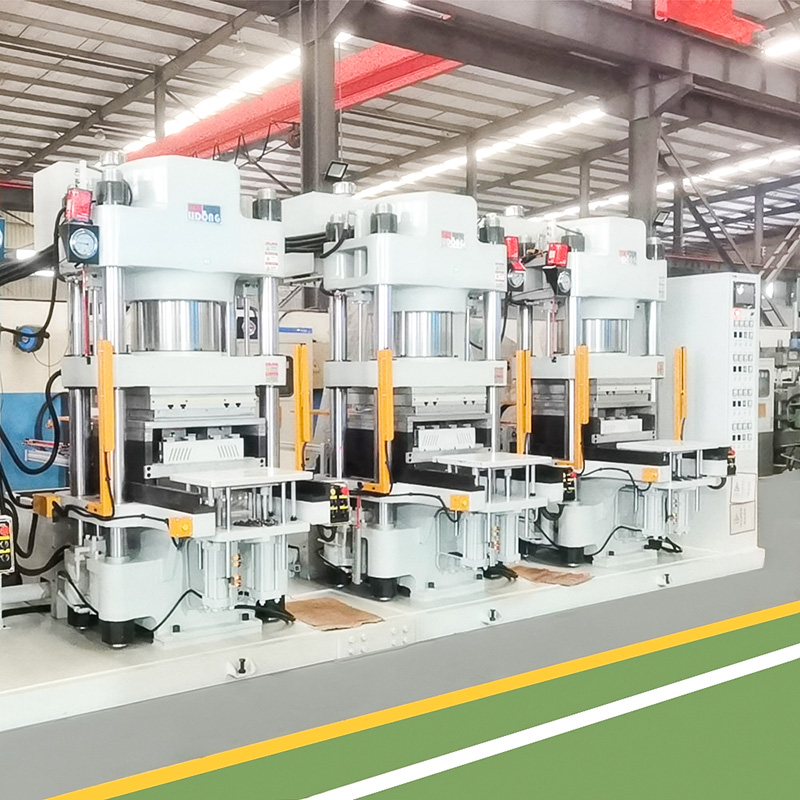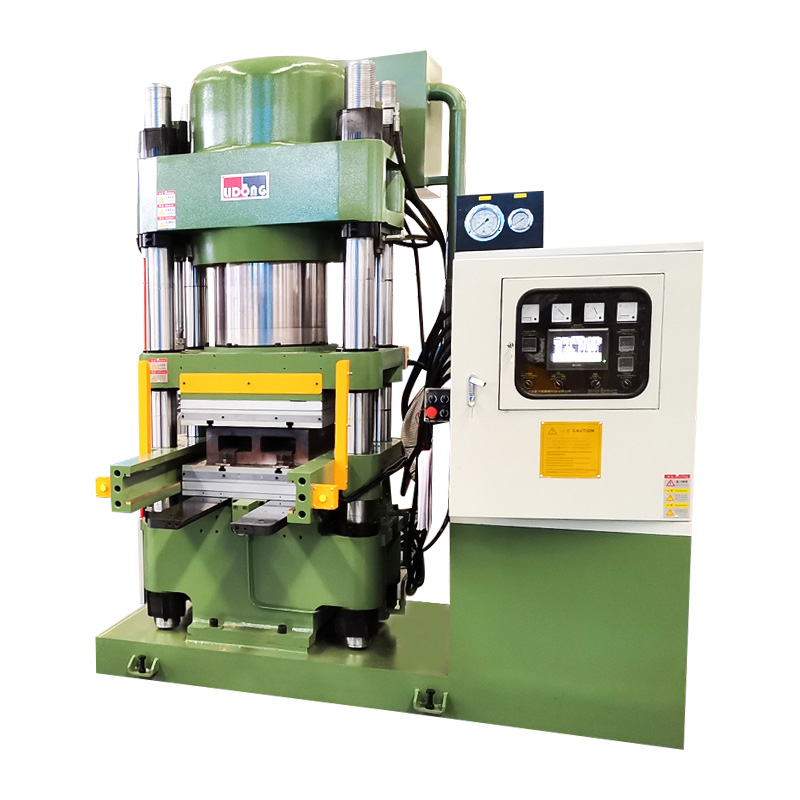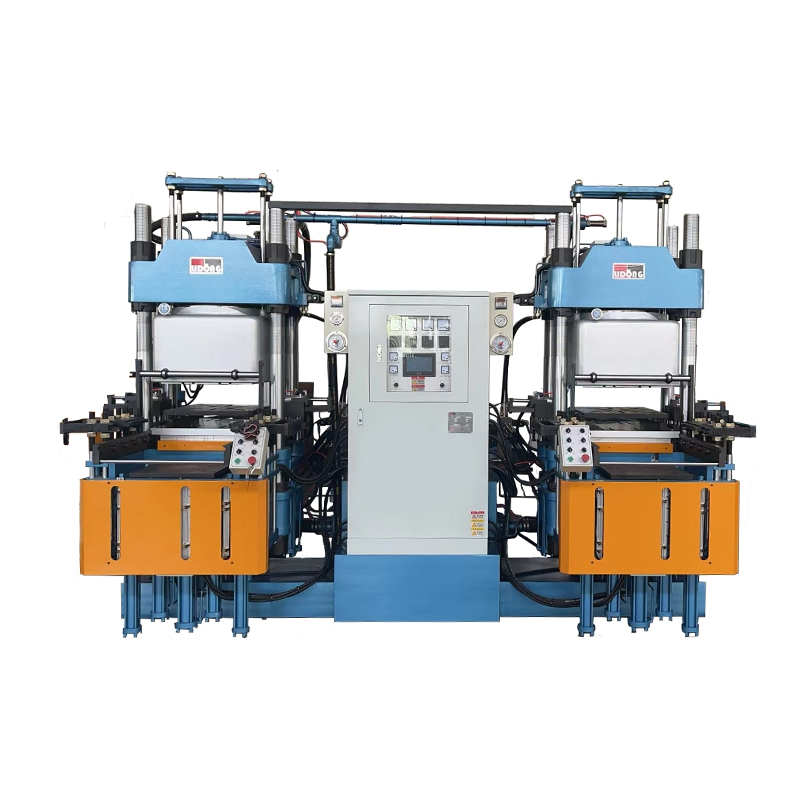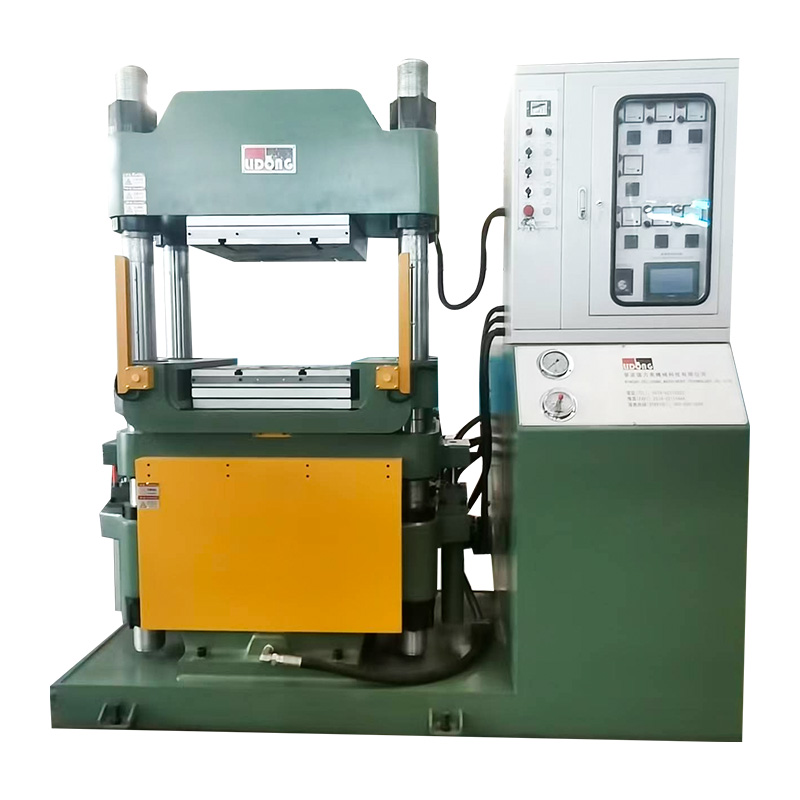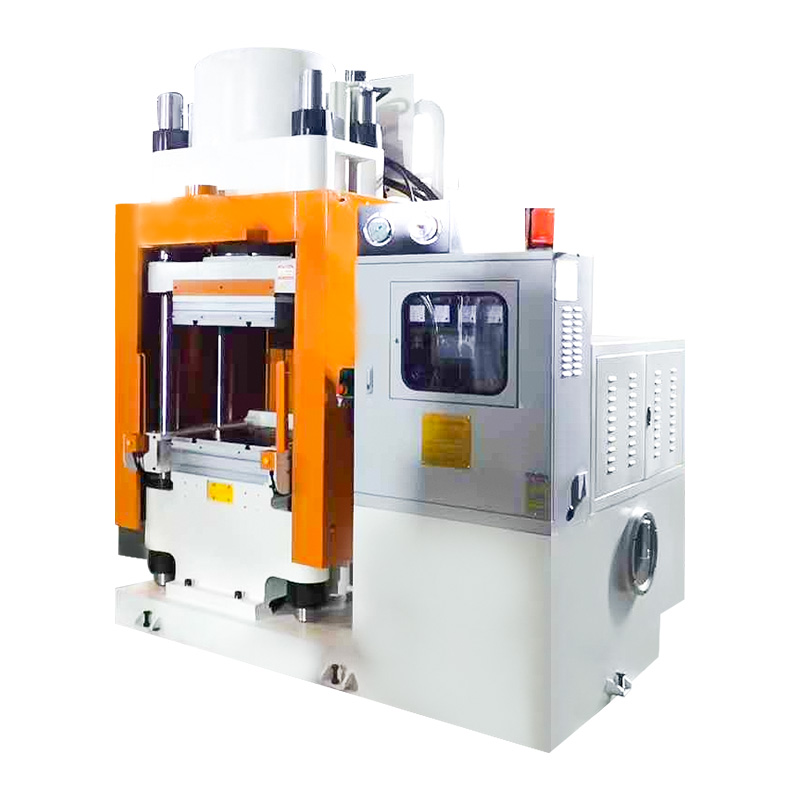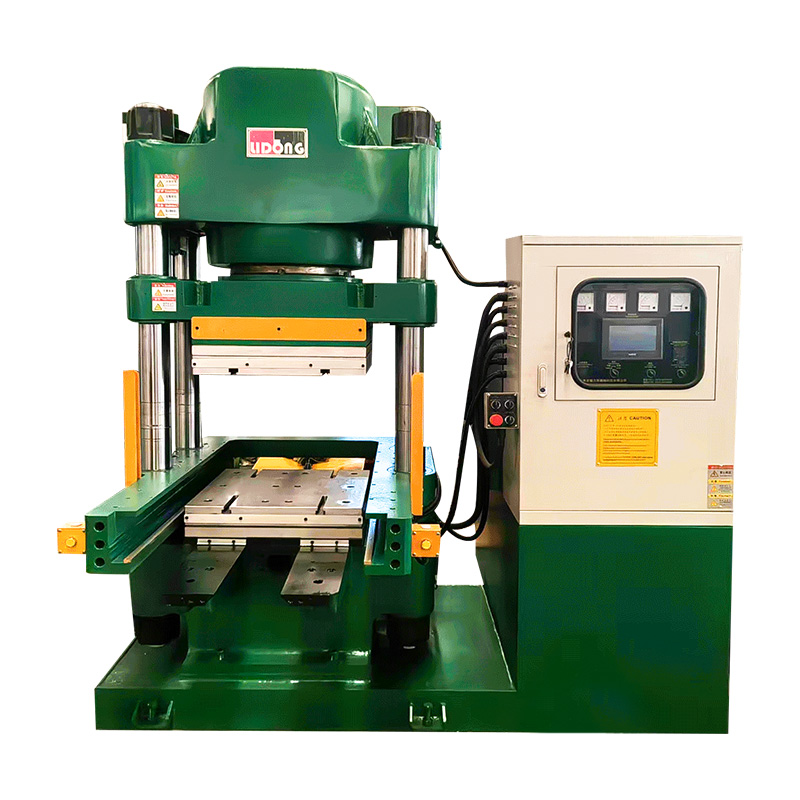

A brake pad press machine works by combining heat, pressure, and time to permanently bond friction material onto a steel back plate. A pre-weighed friction compound is loaded into a heated mold cavity along with a primed back plate, and a hydraulic or mechanical ram then applies 100 to 300 tons of pressure while the mold stays heated to roughly 150°C to 200°C for 60 to 180 seconds. This cures the resin binder and fuses the friction material to the plate in a single solid piece. The pad is then ejected, trimmed, and sent for post-curing and finishing before it becomes a finished brake pad.
The rest of this article breaks down exactly what happens at each stage, what the machine's main components do, how different press types vary, and what causes most pressing defects — so you understand not just the "what" but the "why" behind the process.
What a Brake Pad Press Machine Actually Produces
A brake pad press machine — also called a brake pad hot press or friction material molding press — is the core equipment in brake pad manufacturing. Its job is to transform loose friction powder (a blend of resins, fibers, fillers, and friction modifiers) into a rigid, wear-resistant pad bonded to a metal back plate.
These machines are used to produce friction products for several vehicle categories, including:
- Passenger car disc brake pads
- Light and heavy truck brake pads
- Motorcycle brake pads
- Industrial and railway friction blocks (with larger presses)
Most factories run multi-cavity presses (4 to 12 cavities per cycle) so that several pads are formed simultaneously, which is why press capacity is usually rated in tons of pressing force rather than per-pad output.
The Complete Step-by-Step Pressing Process
The working process of a brake pad press machine follows a fixed sequence. Each stage directly affects the strength, density, and noise performance of the finished pad.
Step 1: Material Preparation and Weighing
Friction compound is mixed in advance and then weighed for each mold cavity, typically with a tolerance of ±0.5 grams. Inconsistent weight is one of the leading causes of uneven density across a pad.
Step 2: Back Plate Preparation
Steel back plates are shot-blasted to roughen the surface, then coated with a phenolic primer or adhesive layer. This step is what allows the friction material to chemically bond to the metal during pressing rather than simply sitting on top of it.
Step 3: Mold Loading
The weighed friction powder is poured into the mold cavity, and the prepared back plate is placed on top. Operators or automated feeders load each cavity in sequence before the press cycle begins.
Step 4: Pressing and Curing
This is the core action of the machine. The hydraulic ram closes the mold and holds it under 100–300 tons of pressure while heating platens keep the mold at 150°C–200°C. Under this combined heat and pressure, the resin binder melts, flows around the fibers and fillers, and then cross-links (cures) into a solid structure. Dwell time usually runs 60 to 180 seconds depending on pad thickness and compound formula.
Step 5: Degassing (Bumping)
Many machines briefly open and reclose the mold once or twice during the cycle — a step called "bumping" or degassing — to release trapped gases from the curing resin. Skipping this step is a common cause of internal voids and delamination.
Step 6: Ejection and Trimming
Once curing is complete, the mold opens and ejector pins push the formed pad out. Excess flashing around the edges is trimmed off, either manually or with an automated deflashing station.
Step 7: Post-Curing
Pressed pads go through a secondary oven bake, typically 4 to 8 hours at 180°C–220°C, to complete the curing reaction and relieve internal stress. This is done outside the press to free up the machine for the next cycle.
Key Components and What Each One Does
Understanding the machine's main components makes it easier to see why each step in the process happens the way it does.
| Component | Function |
|---|---|
| Hydraulic ram / cylinder | Generates and applies the clamping pressure to the mold |
| Heating platens | Maintain mold temperature for resin curing, usually via electric heating rods |
| Mold / die set | Shapes the pad and holds the back plate in fixed position |
| PLC control panel | Programs pressure curves, temperature, dwell time, and degassing cycles |
| Ejector system | Pushes the cured pad out of the mold cavity after pressing |
| Pressure sensors | Monitor and feed back real-time tonnage data to the PLC |
Hydraulic vs. Mechanical vs. Automatic Press: How the Mechanism Differs
Not all brake pad press machines apply pressure the same way. The choice of mechanism affects cycle time, precision, and labor requirements.
| Type | Pressure Source | Typical Use Case |
|---|---|---|
| Manual hydraulic press | Operator-controlled hydraulic pump | Small workshops, low-volume or sample production |
| Semi-automatic hydraulic press | PLC-controlled hydraulic cylinder | Mid-size factories balancing cost and output |
| Fully automatic press line | Servo-hydraulic system with robotic loading | High-volume OEM and export production |
In practice, the underlying physics is the same across all three: heat plus pressure plus dwell time cures the friction material. What changes is how consistently and quickly the machine can repeat that cycle — a fully automatic line can complete a cycle every 90 to 150 seconds, while a manual press may take several minutes per batch including loading and unloading.
Key Parameters That Determine Pressing Quality
Four variables control almost all variation in finished pad quality, and each one is set on the machine's control panel before a production run.
- Pressure (tonnage): Too low and the pad stays porous; too high and it can crack the back plate or damage the mold
- Temperature: Must stay within the resin's curing window, generally 150°C–200°C, or curing will be incomplete or uneven
- Dwell time: Thicker pads or denser formulas need longer hold times, often up to 180 seconds
- Mold precision: Cavity tolerances affect pad thickness consistency, usually held within ±0.1 mm on quality presses
Common Pressing Defects and Their Causes
Most quality complaints in brake pad production trace back to a specific stage of the pressing cycle, which makes troubleshooting straightforward once you know what to check.
| Defect | Likely Cause | Prevention |
|---|---|---|
| Delamination from back plate | Poor plate surface prep or insufficient pressure | Verify shot-blasting and primer coating before loading |
| Internal voids / blisters | Skipped or insufficient degassing | Add or extend the bumping cycle |
| Uneven density across pad | Inconsistent material weighing | Calibrate weighing scales to ±0.5 g tolerance |
| Surface cracking | Mold temperature too high or cooling too fast after ejection | Control temperature ramp and allow gradual cooling |
How to Choose the Right Machine for Your Production Line
If you're evaluating a brake pad press machine for purchase, the working process described above translates into a few practical buying criteria:
- Match tonnage to your pad size and cavity count — undersized presses cannot reach the density needed for larger truck pads
- Confirm PLC control allows independent pressure, temperature, and dwell-time programming for different pad formulas
- Check that the mold supplier can hold ±0.1 mm cavity tolerance for consistent thickness
- Ask about built-in degassing/bumping functions, since this is frequently the difference between a reliable and defect-prone press
- Weigh automatic loading against labor costs — automation pays off fastest at higher production volumes
In short, a brake pad press machine's job is straightforward in principle — apply heat and pressure for a controlled amount of time — but consistent output depends on tightly controlling every variable in that cycle. Understanding each step makes it far easier to diagnose problems on the shop floor and to ask the right questions when selecting new equipment.